
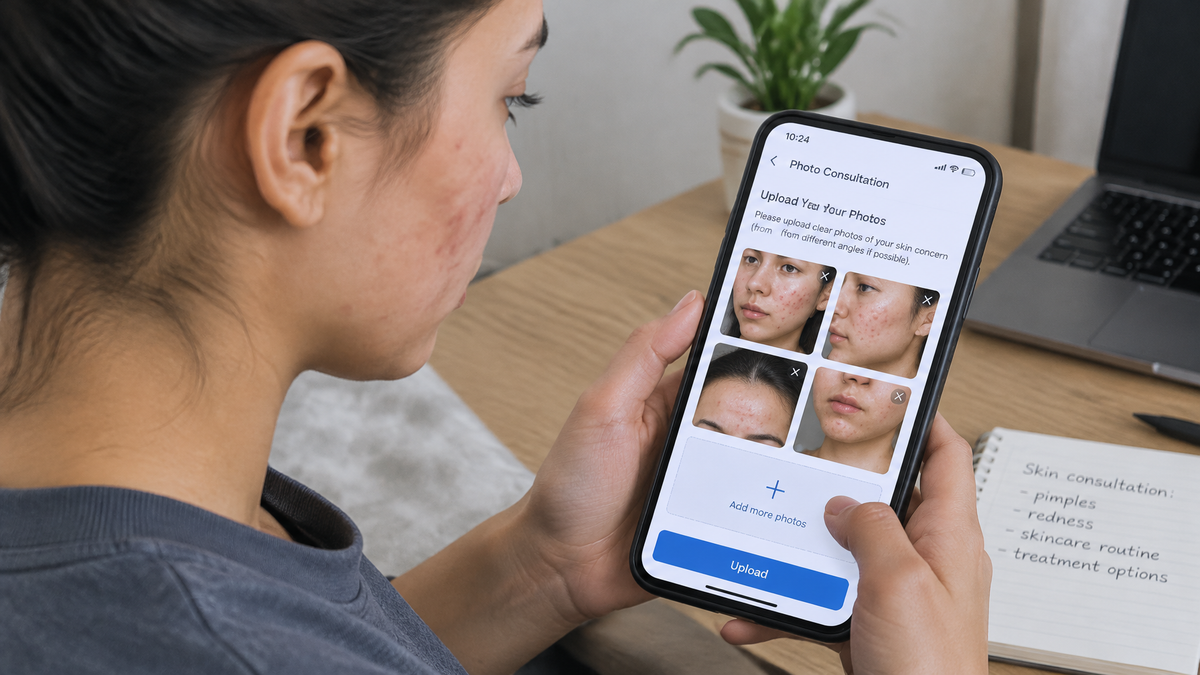
Upload Your Photos in 5 Simple Angles for a Photo Consultation
Booking a photo consultation is a bit like handing your holiday snaps to a stranger and asking them to tell you the truth. Somewhere in those pictures is the reason you look terrific in one shot and slightly odd in the next. The trick is giving your coach enough material to find it. Five angles, shot in ordinary daylight, will do it — and they take less time to take than making a cup of tea.
Why Five Angles Instead of One Good Photo
Most people send a single flattering picture. Perhaps it was taken at a wedding, in golden evening light, with your chin at a brilliant angle. It is a lovely photo, and it is nearly useless for a consultation.
A consultation is diagnostic work. A portrait photographer or image consultant is not looking at how nice you look; they are looking at structure — jawline, cheekbone, hairline, the way your features sit in relation to one another. That structure looks different from every direction. One frame shows you the front, and nothing at all about your profile. Two frames show front and profile, and nothing about the way your face behaves when it is not being deliberately positioned.
Five angles give the full picture. Front, both profiles, and a three-quarter view from either side. Add a straight-on portrait in flat light and you have a set that lets someone map your face properly — and give you advice that actually applies to you rather than to a photograph.
The Lighting Rule That Matters More Than the Angles
Before the angles, settle the light. Stand facing a window on an overcast day, or in the soft shade of a doorway. That is it.
Direct sun carves harsh shadows under the brow and nose, which exaggerates every contour and hides the very details a consultant needs to see. Indoor lamps mix colour temperatures and cast yellow-orange patches that make skin tone impossible to judge. A bathroom mirror light is worse still — it flattens everything into a pale blur.
Whatever the weather is doing on the day, daylight beats artificial light virtually every time. If you are shooting after dark, put a single lamp in front of you rather than above or beside you, and accept that the colour will be imperfect.
The Five Angles
1. Straight on, neutral expression. Face the camera squarely, shoulders relaxed, eyes level with the lens. Keep your expression deliberately blank — no smile, no raised eyebrows. This is your baseline frame. It shows facial proportions as a consultant reads them, and it gives you a record you can compare against later.
2. Right profile. Turn ninety degrees to your right so the camera sees one side of your face only. Keep your gaze straight ahead, not toward the lens. Hair away from the face, ear visible if you can manage it. Profiles reveal the forehead slope, nose line, jaw and neck — the geometry that no front-on shot can show.
3. Left profile. The same again, turned to your left. Faces are rarely symmetrical, and the differences between your two profiles matter enormously. Many people are consistently stronger from one side, and knowing which is genuinely useful in daily life.
4. Three-quarter from the right. Rotate roughly forty-five degrees from the camera, right side toward the lens. This is the angle most portraits are shot at because it adds depth and definition. It is also the angle you most often offer the world in conversation, which makes it worth understanding.
5. Three-quarter from the left. Mirror the fourth shot. Same distance, same light, same relaxed shoulders.
Practical Details That Get Overlooked
Shoot at eye level. A camera held below chin height gives you a double chin and a dominant nose; held above, it shrinks the jaw. Mount the phone on a shelf or ask someone to hold it level with your eyes.
Keep the phone vertical and reasonably close — arm's length is fine. Zooming right in flattens the face; standing across the room and cropping later produces a wide-angle distortion that misrepresents your features.
Hair should be away from the face for at least the profile and three-quarter frames. If your hair normally covers your forehead or ears, include one frame with it styled as you wear it daily, so the consultant sees both the raw structure and the finished look.
Wear something simple in a solid, mid-tone colour with a neckline you actually wear. A busy print competes for attention, and a colour that washes you out makes skin tone harder to read accurately.
Take the photos at roughly the same time of day. Skin shifts over the course of a day, and consistent conditions make the set easier to compare.
Getting the Skin Tone Right
Colour is where most submissions go wrong, and the culprit is nearly always mixed lighting. If one side of your face is bathed in window light and the other in tungsten lamplight, no consultant can tell you whether you suit warm or cool colours — everything they see has been corrupted.
Turn off overhead lights. Face the window. Avoid filters, beauty modes and automatic colour enhancement, all of which flatten texture and shift hue. If your phone offers a portrait mode that blurs the background, leave it off for at least the first two frames. The consultant needs to see texture, not a softened ideal.
What to Send and How to Label It
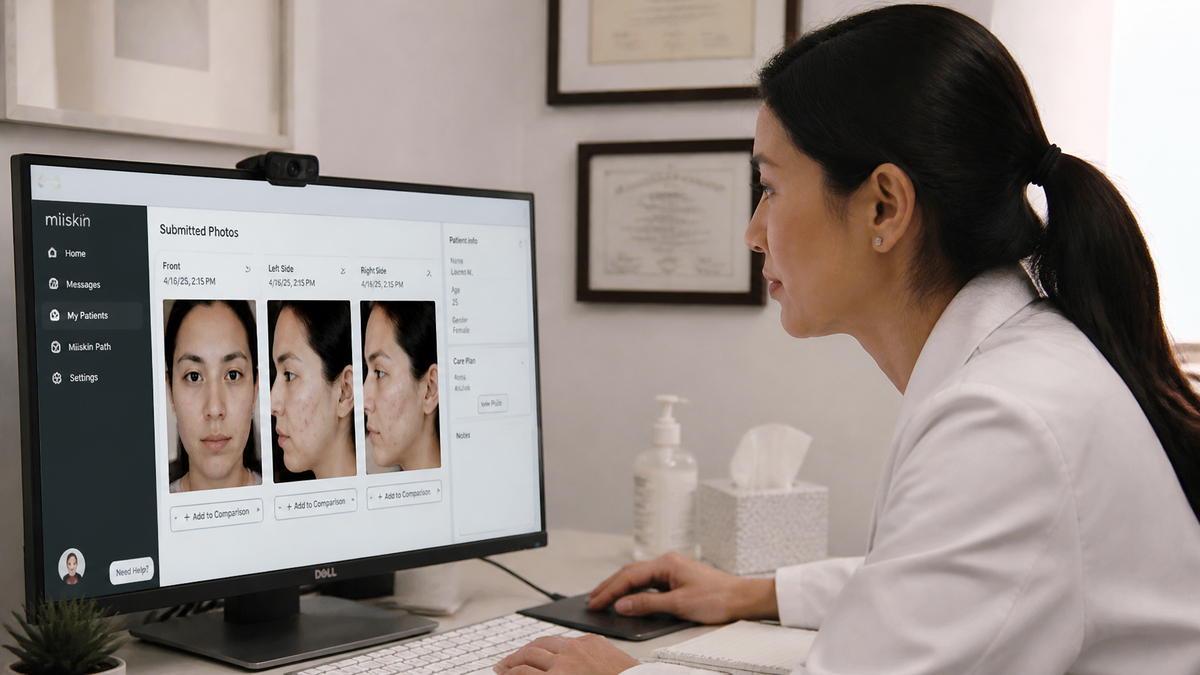
Five images, unedited, in the order above. Name them clearly — front, right profile, left profile, three-quarter right, three-quarter left — so your consultant does not have to guess which is which.
Do not agonise over which is most flattering. Do not delete the ones you dislike. The frames you find least appealing are frequently the most informative, and editing your selection defeats the purpose of the exercise.
Five photographs, five minutes each, one window and a plain wall. That is the whole method. Send them, and your consultation starts from evidence rather than guesswork — which means the advice you receive will fit the face you actually have.

Leave a comment
This site is protected by hCaptcha and the hCaptcha Privacy Policy and Terms of Service apply.