
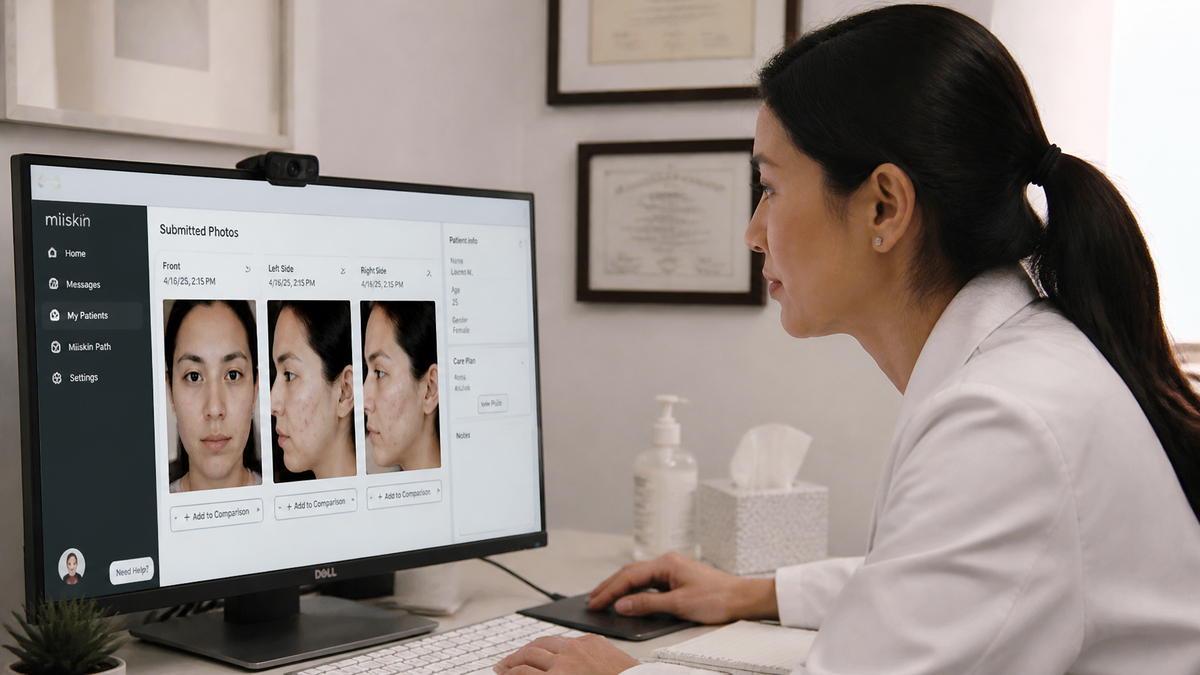
5 Angles That Guarantee an Accurate Online Skin Consultation
Arranging a professional photo consultation is one of the smartest decisions you can make for your skin. Rather than relying on trial and error with off-the-shelf products or taking chances on unverified advice online, you gain direct access to a trained professional who evaluates your actual face and delivers recommendations tailored to your daily life. However, there is an essential caveat: your consultation is only ever as reliable as the photographs you submit.
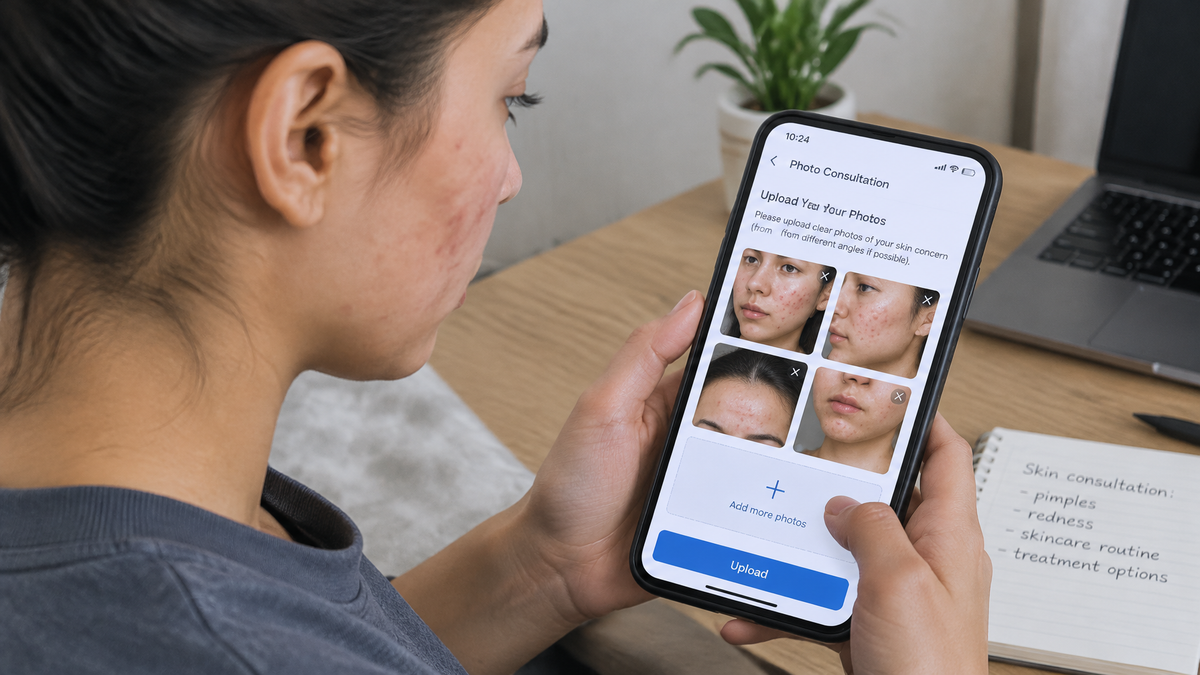
Skin assessments conducted remotely rely entirely on visual evidence. The practitioner examining your submission bases their analysis on what is clearly visible: texture, tone, redness, dehydration, active breakouts, scarring, and how light reflects off your skin surface. Submitting blurry, dimly lit, selectively angled, or filtered photographs forces the practitioner to evaluate a version of your face that simply does not exist. By providing sharp, honest photographs captured from five key viewpoints, you ensure the recommendations you receive are significantly more precise, actionable, and effective.
You do not require a studio setup, specialized lighting equipment, or a professional camera. A smartphone, natural window light, and five spare minutes are all that is needed. Below is a complete guide to capturing the five critical viewpoints, structured to help you prepare seamlessly.
Preparation and Environment: Setting Up Your Shoot
Before capturing specific viewpoints, establishing the correct environment and skin condition is essential. The finest camera cannot overcome poor lighting or covered skin.
Lighting and Positioning
-
Utilize Natural Daylight: Position yourself facing a window during daylight hours so light falls evenly across your features.
-
Avoid Direct Backlighting: Never capture images with a window directly behind you, as this creates a silhouette and obscures skin detail.
-
Avoid Overhead Fixtures: Steer clear of overhead halogen or downlight fixtures, which cast harsh shadows beneath the eyes and artificially exaggerate surface texture.
-
Maintain Eye Level: Position your phone camera directly at eye level rather than below the chin to prevent perspective distortion and heavy jaw shadows. Keep the device roughly an arm’s length away for standard shots, moving closer only for detailed macro views.
Skin and Camera Readiness
-
Work with Bare Skin: Remove all cosmetics, tinted moisture treatments, and high-cast sunscreens. Ideally, wait an hour or two after your routine so topical products fully absorb.
-
Disable Processing Features: Turn off every beauty filter, automatic smoothing feature, or portrait retouching mode. These algorithms intentionally erase the structural data—pores, subtle pigmentation, fine lines, and blemishes—that a practitioner needs to see.
-
Ensure Sharp Focus: Tap your screen over your face to lock focus, steady your posture, and capture two or three frames per angle to guarantee a crisp result.
The Essential Five Angles
Human faces are three-dimensional, and skin behaviour varies dramatically across different facial zones. Forehead skin exhibits different qualities to the cheeks, while the jawline presents unique tendencies. Blemishes, enlarged pores, and hyperpigmentation concentrate in distinct areas. Capturing these five structured angles provides your practitioner with a comprehensive map of your face.
                      +-----------------------------+
                      |   1. Straight-On Baseline   |
                      +--------------+--------------+
                                     |
             +-----------------------+-----------------------+
             |                                               |
  +----------v----------+                         +----------v----------+
  |  2. Left Profile    |                         |  3. Right Profile   |
  |  (45° Rotation)     |                         |  (45° Rotation)     |
  +----------+----------+                         +----------+----------+
             |                                               |
             +-----------------------+-----------------------+
                                     |
             +-----------------------+-----------------------+
             |                                               |
  +----------v----------+                         +----------v----------+
  |  4. T-Zone Close-Up |                         |  5. Lower Face      |
  |  (Forehead/Nose)    |                         |  (Chin & Jawline)   |
  +---------------------+                         +---------------------+
1. Straight-On Neutral Baseline
-
Purpose: Serves as the primary reference photograph for overall facial balance, symmetry, general tone, and texture.
-
Execution: Face the camera directly with a relaxed facial expression and closed mouth. Avoid smiling, raising your eyebrows, or tilting your head. Ensure your hair is swept completely off your face and any eyewear is removed.
2. Left Profile (45-Degree Angle)
-
Purpose: Uncovers congestion, micro-blackheads, and uneven skin structure across the cheek, lateral nose, temple, and upper jaw line that straight-on views miss.
-
Execution: Rotate your head approximately halfway between a direct frontal view and a full side profile, exposing the left side of your face clearly to the lens.
3. Right Profile (45-Degree Angle)
-
Purpose: Identifies asymmetrical conditions, localized reactivity, or unilateral breakouts.
-
Execution: Mirror the 45-degree angle on your right side. Skin behavior frequently differs between sides due to factors like sleeping posture or habitual phone contact, making this dual-profile comparison vital.
4. Focused T-Zone Close-Up
-
Purpose: Highlights areas prone to excess sebum production, enlarged pores, and persistent congestion across the forehead, glabella (between the brows), and nose.
-
Execution: Bring the camera closer to capture the central third of your face. Where possible, utilize your primary back-facing camera, which generally houses superior optical sensors, ensuring the image remains sharp at close range.
5. Lower Face & Jawline Close-Up
-
Purpose: Documents hormonal congestion, ingrown hairs, perioral dryness, and structural variations along the chin and lower jaw.
-
Execution: Frame the lower third of your face, encompassing the mouth down to the lower jawline. If you suffer from a localized concern—such as persistent redness or a stubborn patch of hyperpigmentation—include an additional macro photograph targeting that specific area.
Pre-Upload Verification Checklist
Before submitting your imagery, run through this final checklist to ensure your upload contains maximum diagnostic value:
| Checkpoint | Requirement | Status |
| Angle Count | All 5 primary angles captured (Front, Left 45°, Right 45°, T-Zone, Jawline) | [ ] |
| Lighting | Facing direct daylight source with zero rear backlighting | [ ] |
| Filtering | All digital smoothing, AI touch-ups, and filter modes disabled | [ ] |
| Skin State | Bare, unamended skin free of makeup, heavy oils, or casts | [ ] |
| Stability | Camera held at eye level with locked focal point and no motion blur | [ ] |
| Organization | Files labeled or ordered sequentially for logical review | [ ] |
Pro Tip: Labeled or chronologically sequenced uploads allow the assessing professional to navigate your imagery logically. Accompanying your images with a brief summary of your primary concerns and their duration adds invaluable context to the visual data.
Next Steps: From Imagery to Routine Strategy
Once your submission is complete, the practitioner can carry out a refined evaluation and design an actionable regimen. When initiating a revised routine based on photographic analysis, adopting a measured approach yields the safest, most sustainable outcomes.
+-------------------+      +-------------------+      +-------------------+
|  1. Capture &     | ---> |  2. Practitioner  | ---> |  3. Targeted      |
|     Upload Set    |      |     Assessment    |      |     Product Selection |
+-------------------+      +-------------------+      +-------------------+
A prudent strategy begins with foundational formulations:
-
Mild Cleansing Agent: A gentle formulation to remove impurities without stripping the natural lipid barrier.
-
Hydrating Serum: A lightweight product focused on replenishing moisture levels.
-
Nourishing Moisturiser: A balanced cream to lock in hydration and reinforce barrier function.
Once your skin demonstrates tolerance to this core foundation, active formulations addressing targeted concerns can be introduced incrementally. Range-driven brands focused on clear, results-oriented formulations—such as REFORM Skincare—offer suitable foundational options during this phase, provided individual selections align with what your assessment images reveal.
Conclusion
Remote photo consultations offer a convenient, highly effective path to tailored skincare, provided the underlying visual data is accurate. Capturing five deliberate viewpoints—front-facing, dual 45-degree profiles, and targeted close-ups of the T-zone and jawline—under natural daylight gives your practitioner the clear picture required to guide your skin health effectively. Five minutes spent taking honest, clear photographs ensures the advice you receive is personalized, precise, and practical.
Would you like me to adjust the tone, focus on a specific skin concern, or tailor this for a particular brand website?

Leave a comment
This site is protected by hCaptcha and the hCaptcha Privacy Policy and Terms of Service apply.