
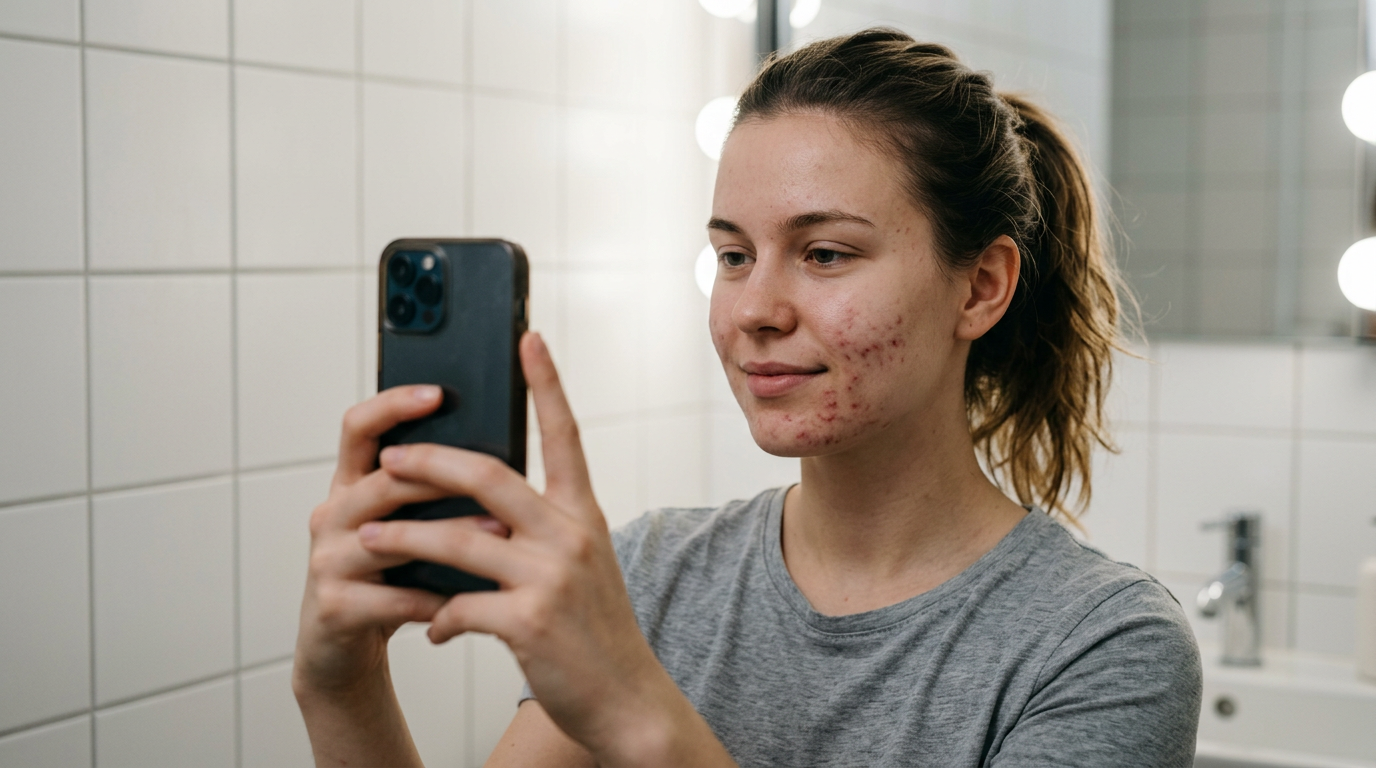
How to Take High Quality Photos for Your Photo Consultation
When you book a photo consultation, the quality of the photographs you provide can make a real difference to the advice you receive. Whether your consultation is for skin, hair, aesthetics, dental care, interior design, personal styling, pet health, or another specialist service, clear photographs help the consultant see the details they need to assess your situation properly.
A photo consultation is only as useful as the information available. Blurry, dark, cropped, distorted, or heavily filtered images can hide important details and may lead to vague or incomplete guidance. The good news is that you do not need professional equipment to take excellent consultation photos. In most cases, a modern smartphone, natural light, and a few simple adjustments are enough.
This guide explains how to take high quality photos for your photo consultation, using straightforward steps that anyone can follow.
Why Photo Quality Matters
A consultation photo is not just a picture; it is visual information. The consultant may need to examine colour, texture, shape, symmetry, scale, placement, or progression over time. If these details are unclear, they may not be able to give accurate recommendations.
High quality photos help your consultant:
- See the relevant area clearly and in context.
- Compare different angles or sides.
- Identify patterns, changes, or concerns.
- Understand size, proportion, and positioning.
- Avoid unnecessary follow-up requests for new images.
Poor quality photos can delay your consultation because the consultant may need to ask you to retake them. In some cases, the issue may not be visible enough to assess at all. Taking a few extra minutes at the start can save time and help you receive better, more confident advice.
Use Natural Light Wherever Possible
Lighting is one of the most important parts of taking a good consultation photo. Natural daylight usually gives the most accurate result because it shows colour and detail more clearly than artificial lighting.
Take your photos near a window or in a bright room during the day. Stand facing the light rather than with the light behind you. If the light source is behind you, your face, body, skin, object, or area of concern may appear too dark. If the light is too strong and direct, it can create harsh shadows or wash out important details.
Soft daylight is best. A cloudy day, shaded area, or room with indirect sunlight often works very well. Avoid taking photos under coloured lights, dim lamps, bathroom spotlights, or strong overhead lighting, as these can change the appearance of colours and shadows.
If you are taking photos in the evening, use a bright, neutral light source and make sure the subject is evenly lit. Try not to mix several types of light, such as warm indoor lamps and cool daylight, because this can make colours look inaccurate.
Keep the Camera Lens Clean
A dirty camera lens is one of the easiest problems to overlook. Fingerprints, dust, make-up, moisturiser, or pocket lint can make an otherwise good photo look cloudy or blurred.
Before you start, gently wipe the lens with a clean microfibre cloth or a soft piece of fabric. Avoid using anything rough that could scratch the lens. Once the lens is clean, take a quick test photo and zoom in to check that the image looks crisp.
This small step can dramatically improve clarity, especially when photographing fine details such as skin texture, hairline, fabric, teeth, nails, markings, or small areas of damage.
Use the Rear Camera, Not the Front Camera
Although front-facing cameras are convenient, the rear camera on most smartphones usually produces better quality images. It often has a higher resolution, sharper focus, and better performance in different lighting conditions.
If you need to photograph yourself, ask someone else to take the photos using the rear camera. If that is not possible, use a tripod, phone stand, shelf, or stable surface with the camera timer. This may take a little longer, but it usually gives a clearer and more accurate result.
Selfies can also distort proportions because the camera is often held too close. For many consultations, especially those involving the face, body, posture, hair, clothing, or symmetry, distortion can make assessment more difficult. A photo taken from a little further away is usually more useful.
Hold the Camera Steady
Camera shake is a common cause of blurry images. Even a small movement can reduce sharpness, particularly in low light.
Hold your phone with both hands and keep your elbows close to your body. If possible, rest your hands or phone against a stable surface. Take a breath, pause, and gently press the shutter button. Do not move the camera immediately afterwards, as some phones continue processing the image for a moment.
For even better results, use the timer function. Setting a three-second timer reduces movement caused by tapping the screen. If you are taking the photos yourself, a timer also gives you time to step back and position yourself correctly.
Focus on the Right Area
Most smartphones allow you to tap the screen to choose the focus point. Before taking the photo, tap the area that needs to be assessed. This tells the camera where to sharpen the image and adjust exposure.
After taking the photo, zoom in and check that the important area is clear. If the background is sharp but the subject is blurry, retake the photo. It is better to take a few extra shots than to submit images that are difficult to interpret.
For close-up photos, make sure you do not move too close to the subject. Phones have a minimum focusing distance. If the camera is too near, it may struggle to focus and the image will look soft. Step back slightly, focus again, and crop only if absolutely necessary.
Take Photos from Several Angles
One photo is rarely enough for a thorough consultation. Different angles provide context and help the consultant understand the subject more accurately.
Depending on the type of consultation, you may need:
- A front view to show the overall appearance.
- Side views to show profile, depth, or shape.
- A close-up view to show detail.
- A wider view to show location and surrounding context.
- Comparison photos of both sides, if symmetry matters.
For example, a skin consultation may require a close-up of the affected area and a wider photo showing where it sits on the body. A hair consultation may need front, side, back, and top views. A styling consultation may benefit from full-length photos taken straight on, rather than angled mirror selfies.
Follow any specific instructions given by your consultant. If they ask for particular angles, distances, or examples, try to match those as closely as possible.
Use a Plain, Uncluttered Background
A simple background helps the subject stand out. Busy surroundings can distract from the area that needs to be assessed, and reflective surfaces can affect lighting.
Choose a plain wall, neutral surface, or tidy background. Remove unnecessary objects from the frame where possible. If you are taking photos of a product, item, garment, room detail, or physical concern, place it against a clean, contrasting background so the edges and colours are easy to see.
For full-length photos, make sure the whole body is visible from head to toe, with enough space around the edges. For close-ups, fill the frame with the relevant area but avoid cropping so tightly that the consultant loses context.
Avoid Filters, Editing, and Beauty Modes
Consultation photos should show reality as accurately as possible. Filters, smoothing effects, automatic beauty modes, colour adjustments, and heavy editing can hide important details.
Before taking your photos, check whether your camera app has any enhancement settings switched on. Some phones automatically apply skin smoothing, brightening, or colour correction, especially on the front camera. Turn these off if you can.
Do not edit out marks, shadows, blemishes, wrinkles, redness, stains, damage, texture, or other details that may be relevant. Even small edits can change the consultant’s interpretation. If you need to crop a photo, keep the original version as well in case the consultant asks for it.
Keep the Camera Straight
Angles can change how something appears. Tilting the camera up, down, or sideways can distort shape, length, size, and symmetry.
For most consultation photos, hold the camera straight and level with the subject. If photographing a face, the camera should usually be at eye level. If taking a full-length photo, position the camera around chest or waist height and step back far enough to avoid distortion. If photographing an object or area, try to keep the camera parallel to the surface.
Avoid dramatic angles unless your consultant specifically asks for them. A neutral, straight-on image is often more useful than a flattering or artistic one.
Show Scale When Needed

Sometimes the consultant needs to understand the size of something. A close-up photo may show detail, but without scale it can be hard to judge actual dimensions.
If size matters, include a familiar object for reference. This might be a ruler, measuring tape, coin, or another everyday object. Place it next to the subject, not covering it. Make sure the reference object is in the same plane as the subject so the scale is not misleading.
For medical, aesthetic, repair, design, or product-related consultations, scale can be especially useful. If you are unsure whether it is needed, it is usually safe to include one photo with scale and one without.
Take Photos Before Applying Products
If your consultation involves skin, hair, nails, teeth, fabrics, surfaces, or any visible condition, it is usually best to take photos before applying products that may alter the appearance.
For example, make-up can cover redness or texture, moisturiser can add shine, hair products can change volume or shape, and cleaning products can temporarily affect the appearance of a surface. Unless your consultant asks otherwise, photograph the area in its natural state.
If products are relevant to the consultation, you can take an additional photo after using them or include a note explaining what has been applied. The key is to make sure the consultant understands what they are seeing.
Check Resolution Before Sending
Many messaging apps compress images, which can reduce quality. If your consultation platform allows you to upload original images, use that option. Avoid taking screenshots of photos, as screenshots often reduce detail.
Before submitting, open each image and zoom in. Check that the important details remain clear. If the photo becomes pixelated, blurry, or too dark when enlarged, retake it.
Try to send the original file rather than a version copied from social media or a compressed chat thread. The clearer the file, the easier it is for your consultant to assess.
Name and Organise Your Photos
If you are sending several images, organisation helps. Clear labelling can prevent confusion, especially when photos show different angles, dates, or stages.
Use simple names such as:
- Front view
- Left side
- Right side
- Close-up
- With scale
- Before product
- After product
- Day 1
- Day 7
If the platform does not allow you to rename files, write a short message explaining what each photo shows. For ongoing concerns, take photos at the same time of day and in similar lighting so changes are easier to compare.
Common Mistakes to Avoid
Even when the subject is correct, small mistakes can reduce photo quality. Try to avoid:
- Taking photos in a dark room.
- Standing with a bright window behind you.
- Using filters or smoothing effects.
- Holding the camera too close.
- Submitting only one angle.
- Cropping out useful context.
- Sending screenshots instead of original photos.
- Taking photos through a mirror when a direct photo is possible.
- Using flash too close to the subject.
- Forgetting to check the image before sending.
Flash can sometimes help in low light, but it can also create glare, harsh shadows, and inaccurate colour. Use it only when necessary, and compare the result with a naturally lit photo if possible.
Final Checklist Before Your Consultation
Before uploading your photos, run through this quick checklist:
| Check | What to look for |
|---|---|
| Lighting | The subject is evenly lit and colours look natural. |
| Focus | The important area is sharp when you zoom in. |
| Angles | You have included all requested views. |
| Background | The image is free from unnecessary distractions. |
| Accuracy | There are no filters, beauty modes, or heavy edits. |
| Scale | A ruler or reference object is included if size matters. |
| Context | Close-ups are supported by wider photos where useful. |
| File quality | You are sending original images, not screenshots. |
A good set of consultation photos does not need to look professional or artistic. It simply needs to be clear, honest, well lit, and useful. Your consultant is not looking for perfection; they are looking for accurate visual information.
By using natural light, keeping your camera steady, taking several angles, avoiding filters, and checking your images before sending them, you can make your photo consultation smoother and more effective. Clear photos help your consultant understand your needs more quickly and provide advice that is better tailored to you.
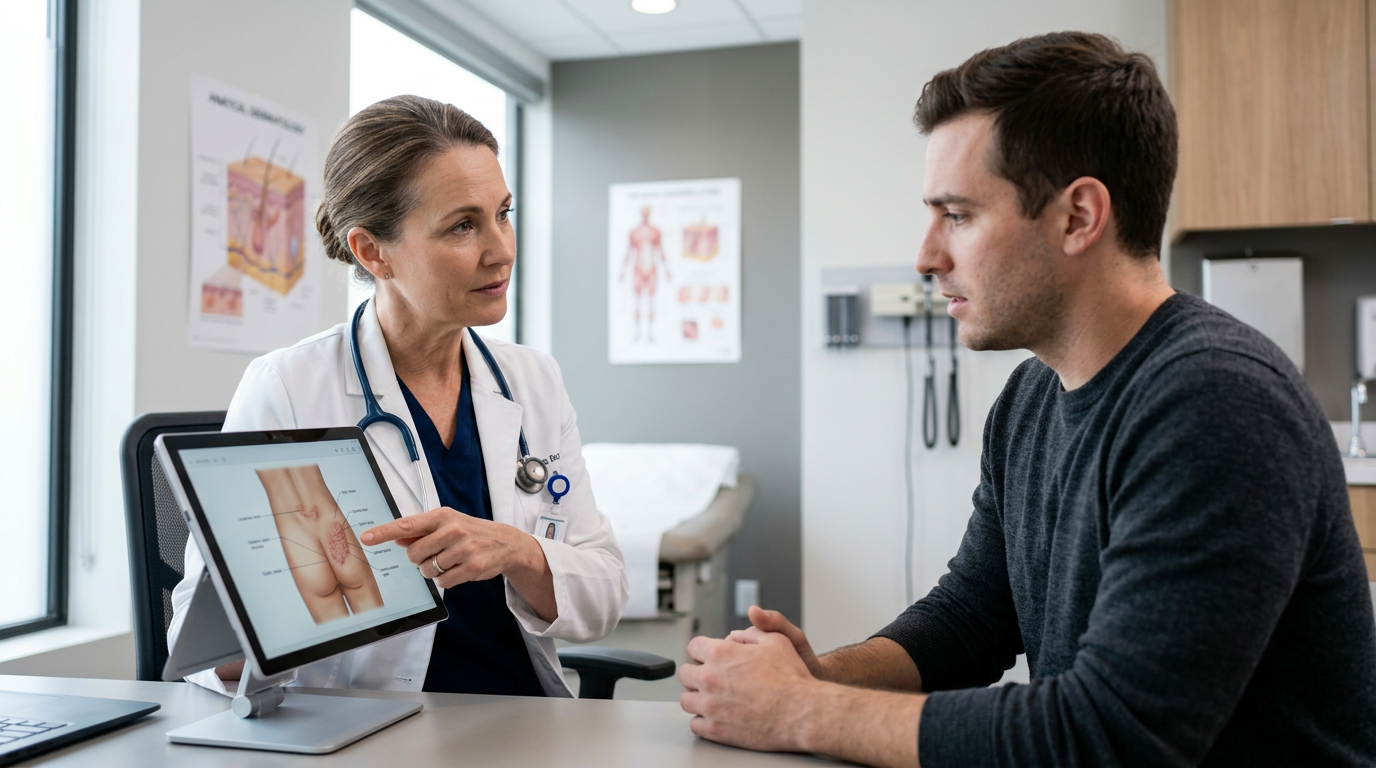
Ready for a professional assessment? Photo consultations are available through The Adare Dermatology Clinic across our practice locations in Dublin, Limerick, and London, as well as online. Whether you are submitting images prior to an in-clinic visit or booking a remote assessment, following this guide ensures our specialists can deliver accurate, tailored advice.
Get in touch with your nearest clinic to submit your photos or schedule your consultation.


Leave a comment
This site is protected by hCaptcha and the hCaptcha Privacy Policy and Terms of Service apply.